Now it’s time to connect the host computer with the development board.
- Plug one end of the USB to the computer’s USB port.
- Plug the other end to the board’s esp32c6-tagged USB port (or you may see a USB tag.)
- A tiny red control LED may light up (if the board is brand new.)
Note
The esp32-c6 also has an extra USB port, which is UART or ch343-tagged. ch343 is used to communicate with the UART peripheral inside the MCU. Both ports can be used for flashing and both can be monitored.
List the USB ports with lsusb | grep usb. If lsusb is unavailable with ls /dev/tty*usb*. Examples:
-
With
lsls /dev/tty*usb* # /dev/tty.usbmodem101 -
With
lsusblsusb | grep JTAG # Bus (...) USB JTAG/serial debug unit (...)
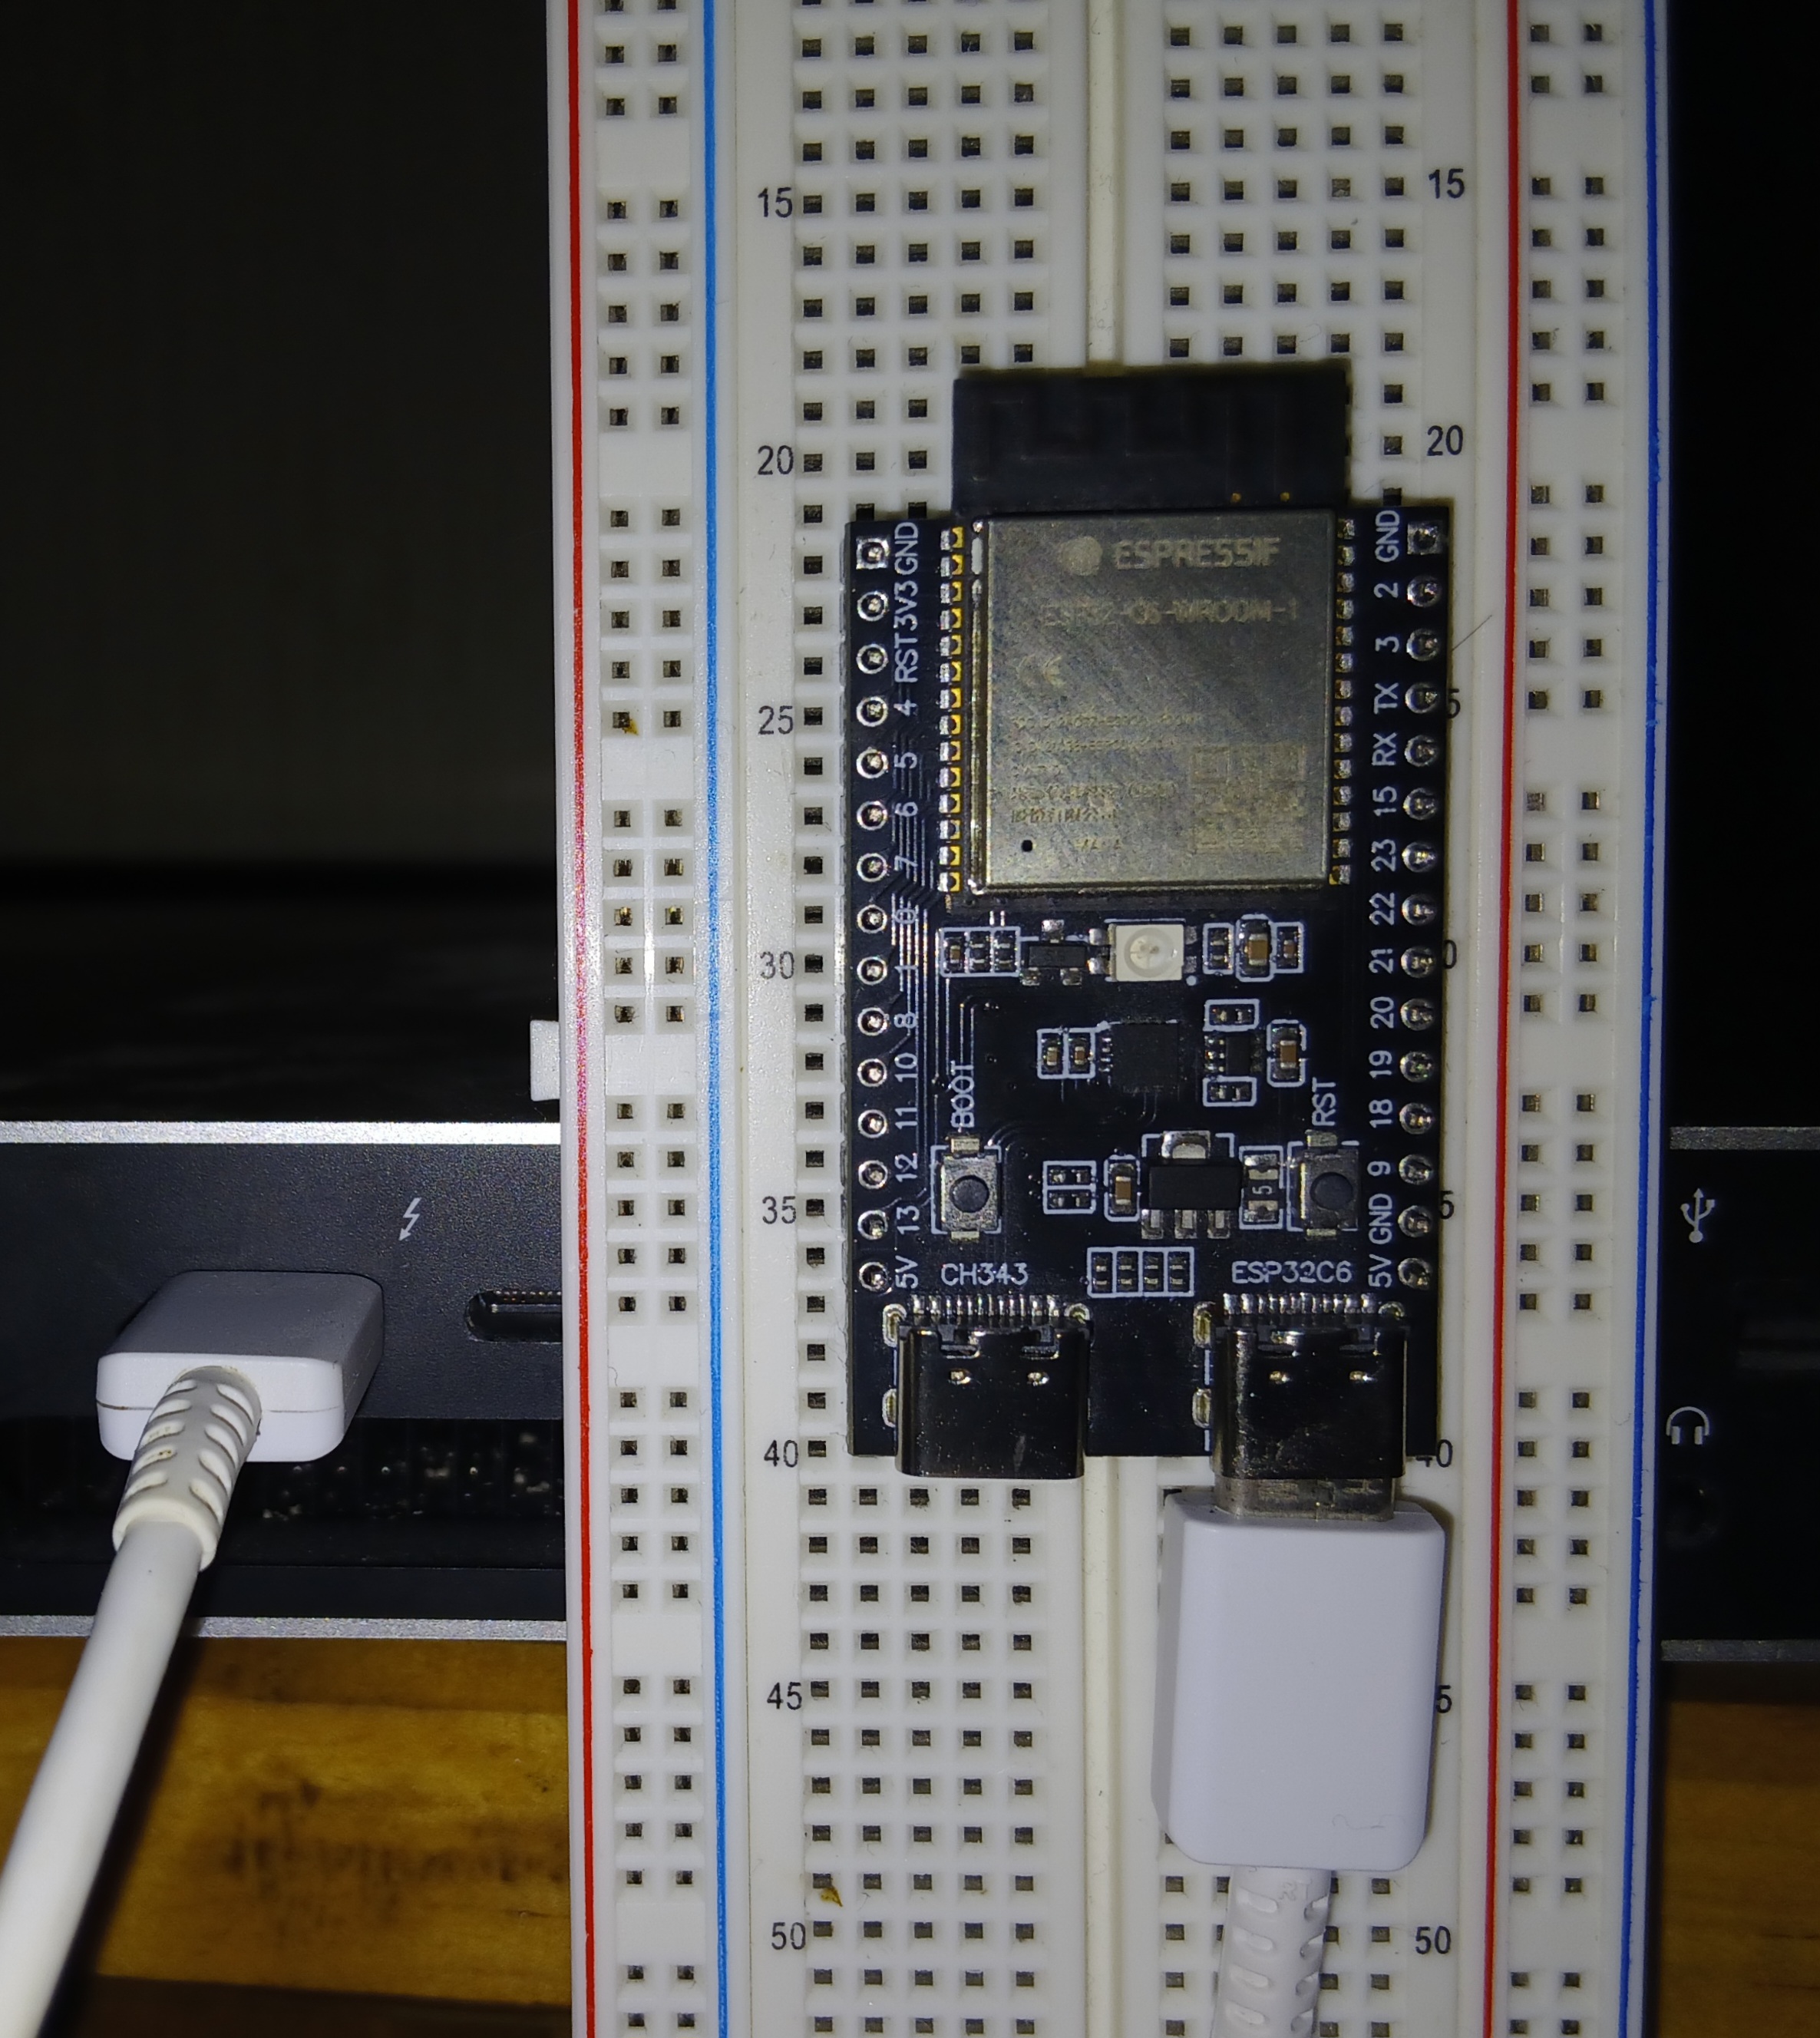
Linking board and laptop through USB-C
Now that the board is wired to our laptop, and registered by our OS, let’s set up the needed software.